Sunday, 6 November 2022

God Jul

It's time for another challenge at 613 Avenue Create!  This month, the optional twist is 

Fancy Folds and Cuts 

I've created a Flip Card.  There are dies available for this and yes I did buy them but I then realized that they're not necessary!  All you really need is a frame die which is symmetrical.  I have loads of Spellbinders Label dies which could have worked but in the end I went with a circle!

Unfortunately, I didn't take step by step photos and I don't believe in measurements so I'll just describe the basic idea behind this card - that way you can make them up in any size you like and you can make your flipping frame any shape you want!   If you have any questions, leave them in the comments box and I'll do my best to answer them.  

  1. Fold your base card in half as you would normally if the card base didn't come pre-folded;
  2. Fold one of the halves in half again so that you have a short flap - this will be the front;
  3. Choose a symmetrical frame die such that half of it will fit on this front flap;
  4. I find it useful to mark on the die where the mid point is (for the circle I cut a circle from scrap paper, folded it in half and lay the folded circle back into to the die, turned it over and marked the places at the top and bottom of the die where the fold line was);
  5. Open up your card base and lay it on your die cutting plate face up, making sure it's square with the front flap to the top 
  6. Place your frame die over the front flap so that the centre of the frame die lines up with the fold line;
  7. Place the edge of your top cutting plate so that it does NOT go past this midline;
  8. Run it though the machine.
  9. You're left with a semi circular cut-out - there's a foldline right down the middle of your circle but that's ok, you won't see this fold line once you placed a decorated circle of the same size on either side;
  10. Decorate the various panels
Here's the card in its various stages of opening


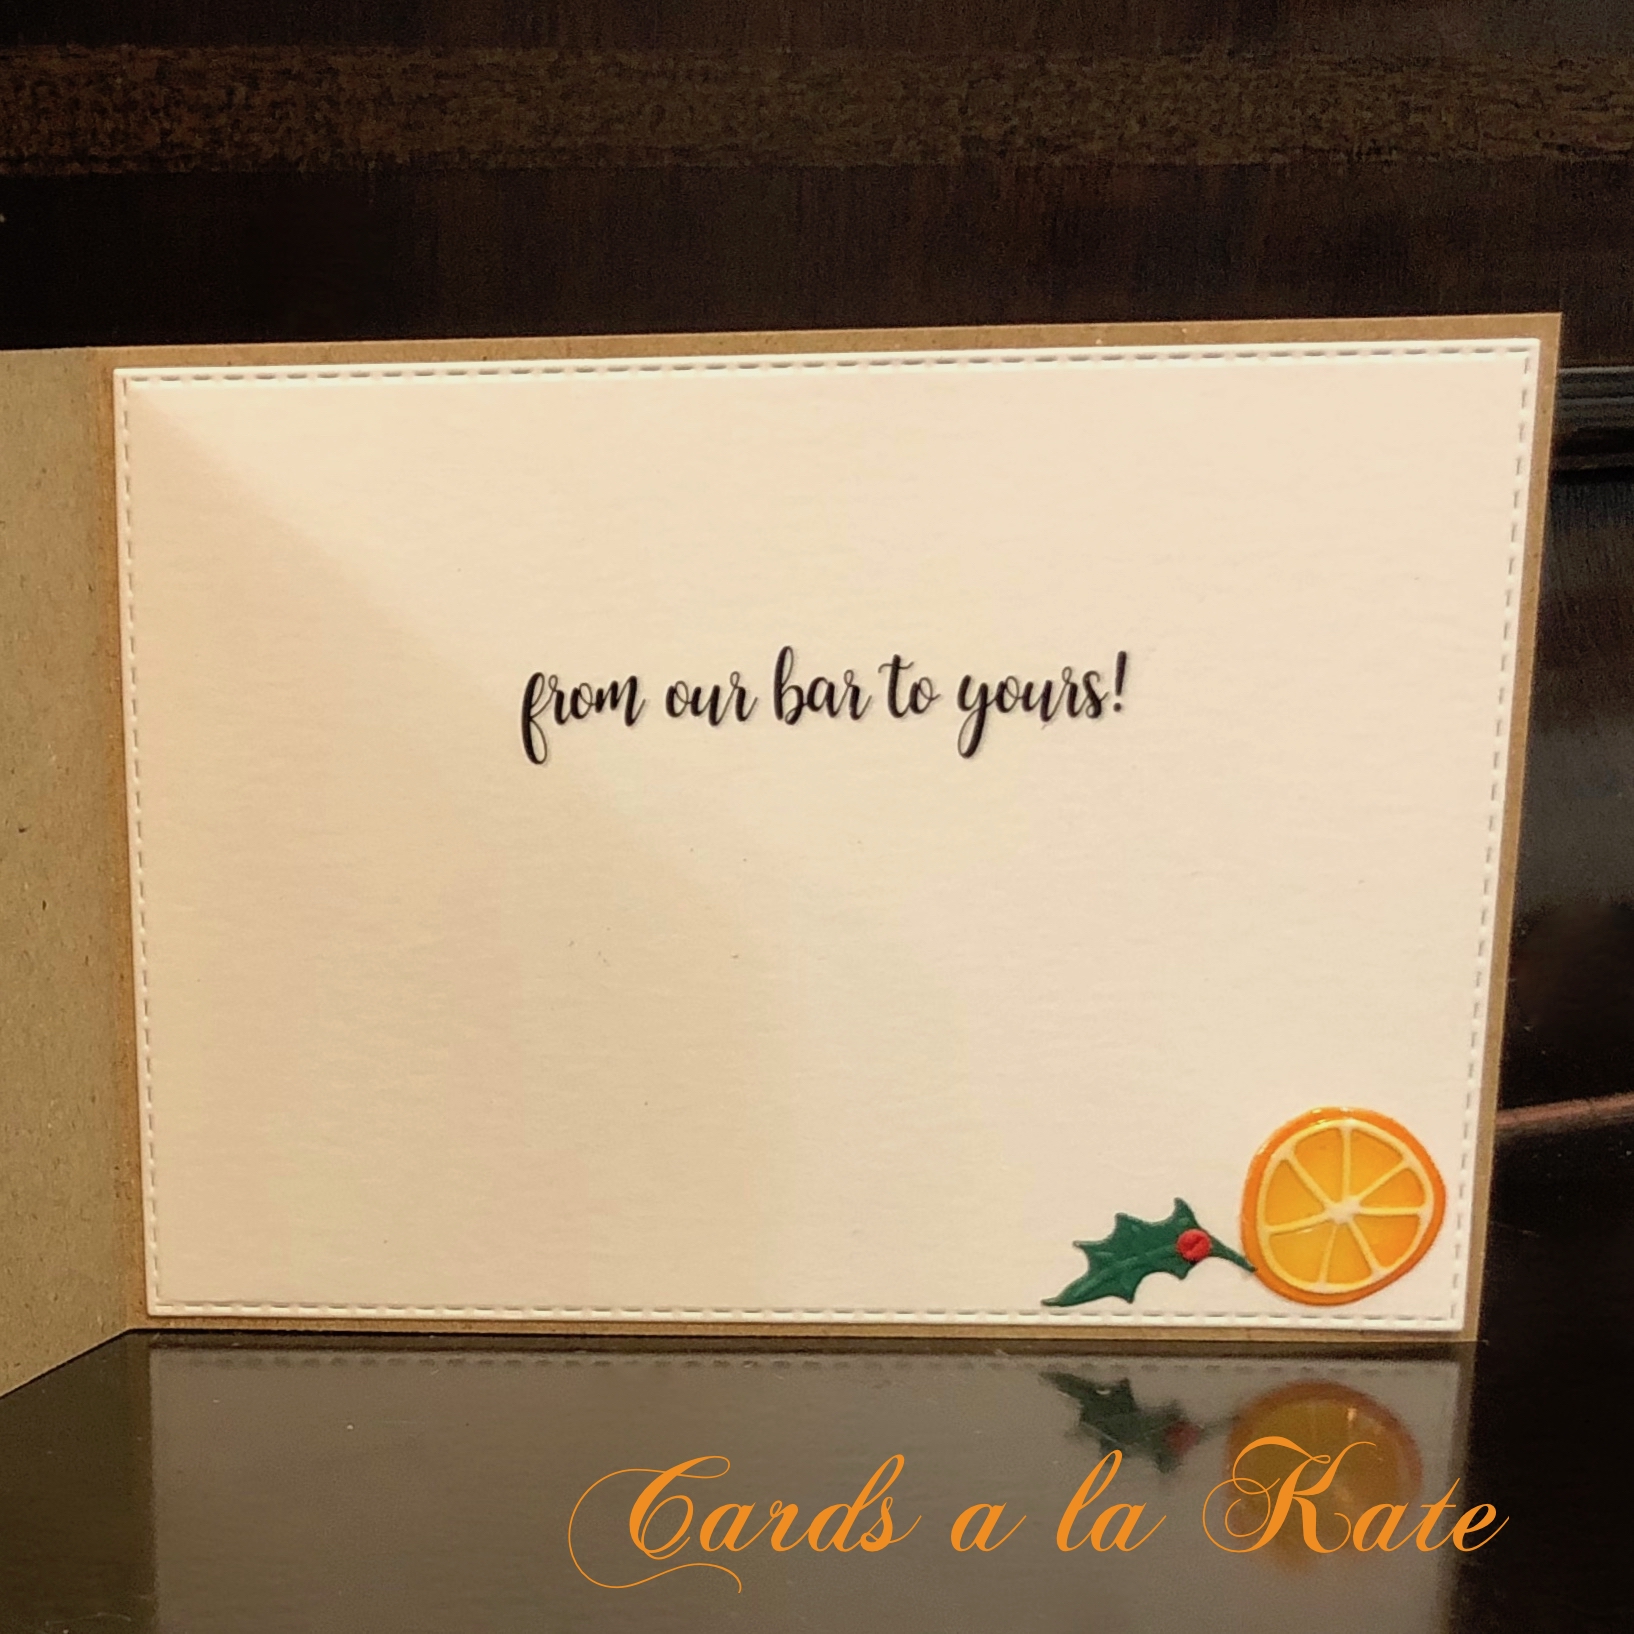
For this card I've chosen an image and sentiments from one of my favourite Christmas stamp sets - Waltzing Mouse Alpine Christmas.  I've also tried to create an Edelwyss flower using the MFT Sunflower.  I had a snippet left over of a background I had stamped previously using WMS Cabin Plaid in redand teamed it with this spotted blue DP to try for a Swiss/Nordic vibe!

I’d like to enter the following challenges

Why not give this fancy fold or another, and enter your card in the 613 Avenue Create!  Or just play along without the twist!  We love to see your creations!

I'm thrilled you stopped by and hope you enjoyed your visit.  If you leave a comment, I’ll know you were here and how to find you and perhaps we can get better acquainted!  

Kate

Tuesday, 1 November 2022

Gingerbread Wishes


The Holly and Ivy Challenge #127 has just gone live and we would love to see your Anything Christmas Goes creations.  I hope to inspire you and in turn look forward to being inspired by your Christmas creations and I know my fellow design team members feel the same way!  As we are now on the slippery slope towards Christmas, I appreciate how fortunate I am to be part of this great team and to have my Christmas cards done well beforehand so that I can enjoy this precious time with my family.

This was a difficult one for me!  Attempt after attempt ended in dead ends!  And at one stage, this one was headed for the same fate!  My gingerbreadmen were stamped and coloured with markers and Derwent inktense pencils - originally on a much larger panel but a smudge here and a dropped marker there meant I had to cut it down to size.  If I hadn't (stupidly in hindsight) coated them with glossy accents before the accidents occurred I would have had more options - I was attempting a CAS design initially!  Anyhoo, I eventually went with a very simple sketch, a piece of patterned paper, snippets of lace and Kraft and a Kraft card base.  Yes the lower left corner of the panel is a little bare and if I'd had more time, I could have fixed it but I was ever so keen to put it on the "done" pile as opposed to my ever-growing "maybe I can do something with this later" pile - it had been one of those weeks!

I'm in Australia at the moment, catching up with friends and family!  One of my aunts said something to me and I think I might adopt it as my new mantra - "It is what it is"!  There are things in life over which we have no control, it's best to accept "it is what it is" rather than fret over what might have happened had a different course of action been taken or what we believe should be.  So this card "is what it is".

I’d like to enter my card in the Snippets Challenge 440 (I think snippets of lace count in any case I also used snippets of kraft)!  I think I’ll even be complying with the optional theme of Halloween/Autumn or just their colours (as is the case with the autumnal colours in this Christmas card of mine)!

I'm thrilled you stopped by my little corner of blogland and hope you go away a little inspired!  If you leave a comment, I’ll know you were here and how to find you so I can see what you've been up to!!!  

Kate

Tuesday, 18 October 2022

Royal Mail Christmas Wishes

 The Holly and Ivy Christmas Challenge #126 is now live!   As always Anything Christmas Goes so I hope you'll join us!  We love to see your cards and be inspired by you and I hope I can inspire you a little!


This is my latest creation, a small token of respect to Her Late Majesty Queen Elizabeth II.  Say what you like about the British Royal Family (and plenty of people have been saying quite a lot lately) -  Queen Elizabeth II was a remarkable woman who dedicated her entire life to public service and always with grace and dignity.  Her grace and dignity will be sadly missed in today's world!

 With all the talk about the changes that will be made now there is a change of monarch - the coins, the stamps, etc. - my mind wandered to the little red mail boxes populating kerbsides up and down the length of Britain which are all emblazoned with the monongram of the late queen.  Will they be replaced?   "Royal Mail" was privatised a while back as I understand it so would they replace them with ones bearing the monogram of the new king?  I doubt it!

But it got me thinking that with a few tweaks, this "Briefkasten" die from Charlie & Paulchen could be used to make a Christmas card and pay my respects to Her late Majesty Queen Elizabeth II at the same time!  I'd been meaning to break out this die anyway in the run-up to Christmas because sending and receiving Christmas cards has always been one of the delights of Christmas for me - I would write our family's Christmas cards from my early teenage years (mum bought me a "calligraphy" pen just for the purpose - what a clever mum)!

I cut three mailboxes and stacked them up for dimension. and ran around the edges with Black Soot DI!  I just cut out a gold "E" and and "R" from the smallest alphabet die set in my collection.  The II in the middle were negative pieces left over from the "R".  It really should have had a crown above the II but I didn't have anything that small.  However the top of the mailbox has a sort of crown which I cut again from gold, trimmed and added to the top.  

The "queue" of letters trying to get to the mailbox were cut from two dies from the same set.  They have little heart and star cutouts so I backed them with a piece of red card and popped on foam tape.

My biggest problem was finding a sentiment to go with it - "Merry Christmas" seemed too trite!  I decided on this sentiment from Waltzing Mouse Seasonal Flourish which seemed to strike the right tone given the sombreness I was trying to convey - though it is very large and quite tricky to accommodate!  I suppose a sentiment isn't always necessary but I like to add them!

I'm entering my card in NBUS Challenge #43 because I used this NBUS "Briefkasten" die.

I'm so glad you visisted my little corner of the internet and I do hope you enjoyed your visit.  If you take the time to leave a comment I am especially grateful - not only will it brighten my day, but it will also let me know you were here and how to find you! 

Kate

Thursday, 13 October 2022

Comfort


I needed one of those cards we all dread making - a sympathy card.  Luckily I had a container filled with flowers and leaves I'd cut previously so this card came together quickly.  

The leaves and flowers were cut using the Tim Holtz Funky Foliage die set, the Sentiment was cut from off-white card stock using the Winnie and Walter Big, Bold and Comfort set and coloured with Orange and Purple Alcohol Markers and I used the Tim Holtz 3D Woodgrain Texture Fades Folder to emboss a piece of Kraft card stock which I then lightly distressed with Gathered Twigs DI.  The more I use this embossing folder, the more I love it!

I'd like to enter the following challenges

Four Season Challenge

Let's Squash it Challenge #25

The Card Concept #181


Please Grab Our Badge
CYHTP  - no twist

I'm thrilled you stopped by and hope you enjoyed your visit.  If you leave a comment, I’ll know you were here and how to find you and perhaps we can get better acquainted!  

Kate

Tuesday, 4 October 2022

Christmas Cheers

This card is one of a set I'm making for some Australian friends!  They would meet up on Friday evenings for zoom cocktail meetings during the pandemic.  We joined them a few times but unfortunately it was Friday morning here so a little too early for cocktails!  But we enjoyed a coffee and their company - especially as everything seemed so uncertain at that time!  

So, I thought Christmas cocktail cards would make a change from the snowy themed cards I usually send them - after all it is summer in December down under!  This set only arrived a few days ago and I've spent many "Happy Hours" since then preparing these little cocktails.  My fingers were a right mess but fortunately distress inks wash off fairly easily!   

The "glasses" were cut from scraps of acetate packaging and stacked for stability.  I used glossy accents to adhere the stacks and I added a coat to the top as well.  This set comes with the most adorable cocktail accessories - citric slice and segment, olive, cherry mint and what cocktail would be complete without a little paper umbrella!  Initially I kept the martini simple but it looked too plain so I added a little holly from Tim Holtz Winter Foliage (though it would probably taste awful)!

The "bar" was just a scrap of kraft card stock which I used a deckle edged die to cut the sides and then ran it through the "Lumber" 3-D Texture Fades folder.  I then ran come gilding wax over the top.

The first half of the sentiment was computer generated and a stacked "cheers" die cut was added to complete it with the top layer in gold!  I wanted to foil the computer generated part but I guess the finish on this paper was too rough and because the sentiment was quite small, the foil was barely discernible.  I decided to foil the whole panel (using a cheaper brand of foil) in a last ditch effort to make the sentiment more golden because that had worked on a previous occasion.  The whole panel now has lovely gold flecks through it!

Here's the inside!  I was going to stamp "from our house to yours" to continue the sentiment but the font was too elegant for such a light-hearted card and then "from our bar to yours" popped into my head so I generated that on the computer instead!


Instead of attaching the glasses to the panel with adhesive, I thought it would be fun to create fridge magnets.  I added magnets to the back of the "glasses" and corresponding magnets behind the front panel.   

Here's a video so you can see what I mean!  You'll also get a better sense of the golden finish!


I'd like to to enter the following challenges
Crafty Hazelnut's Challenge #614 - for someone special!
Peace on Earth Challenge #25 - Anything Christmas Goes
The Holly and Ivy Challenge #125 - Anything Christmas Goes
NBUS Challenge #43 - The Happy Hours set is new and had it's first "Use"
SOS Challenge #480 - Leaf Me Alone (Holly and Mint leaves on my cocktails)
Snippet's Playground Challenge #438 - I collect snippets of acetate from packaging and used these for the "glasses" as well as other snippets (especially that gold, it's too expensive not to save the snippets)
Simon Says Stamp Wednesday Challenge - Anything Goes this week!
Just us Girls Challenge #652 - "Scraps" - Scraps of acetate were used for the "glasses"!

Cheers, thanks for stopping by!  I hope you go away with some ideas for creating special Christmas cards for the special people in your life!  If you leave a comment, I’ll know you were here and how to find you and can then return the favour!  

Kate

Sunday, 2 October 2022

Ok, but First Coffee


I am really excited to bring you October’s challenge over at 613 Avenue Create where the twist this month is  But First…Your Favourite Beverage!  We'd  love to see your beverage inspired projects but if you'd prefer to play without the twist, that's fine too!

Our sponsor this month is Mirtillamente and I’m using her But First Coffee image because for me, it has to be coffee!   


I’ve printed the image onto some off-white card and die cut it with the Lil’ Inker Coffee Talk 2 die.   What you see is actually three mugs stacked.  I removed the handle from the top one so the mug stood higher than the handle.  Removing the handle also made it easier to distress all the edges.   I removed all but one of the mug contents and coloured that with Distress Inks and then reinserted it into the mug!


Then I applied versa mark and Ultra Thick Embossing Enamel to make my mug look more authentic!  Because the coffee was at a lower level, applying the Versamark was difficult, so I ended up finishing this off with Glossy Accents.  I add a few gold beads to the coffee because they remind me of Demerara Sugar.


I created a simple little scene with a brick embossing folder, a snippet of red gingham and a doily!  I don’t normally make square cards - they cost twice as much to send!  However they are nice format to work with, especially a small one like this!  


I’ve used an embossing folder to create the brick wall background so I’d like to enter the Can You Handle the Pressure Challenge!


I've also used some snippets in the card so I'm off to the Snippets Playground for challenge #438


I'm thrilled you stopped by and hope you enjoyed your visit.  If you leave a comment, I’ll know you were here and how to find you and perhaps we can get better acquainted!  

Kate